Ledger.com/Start Setup Guide (500 Words)
Setting up your Ledger hardware wallet through ledger.com/start ensures your crypto assets are stored securely offline. Whether you're using a Ledger Nano S Plus, Nano X, or Ledger Stax, the steps below walk you through the entire setup process.
Step 1: Go to Ledger.com/start
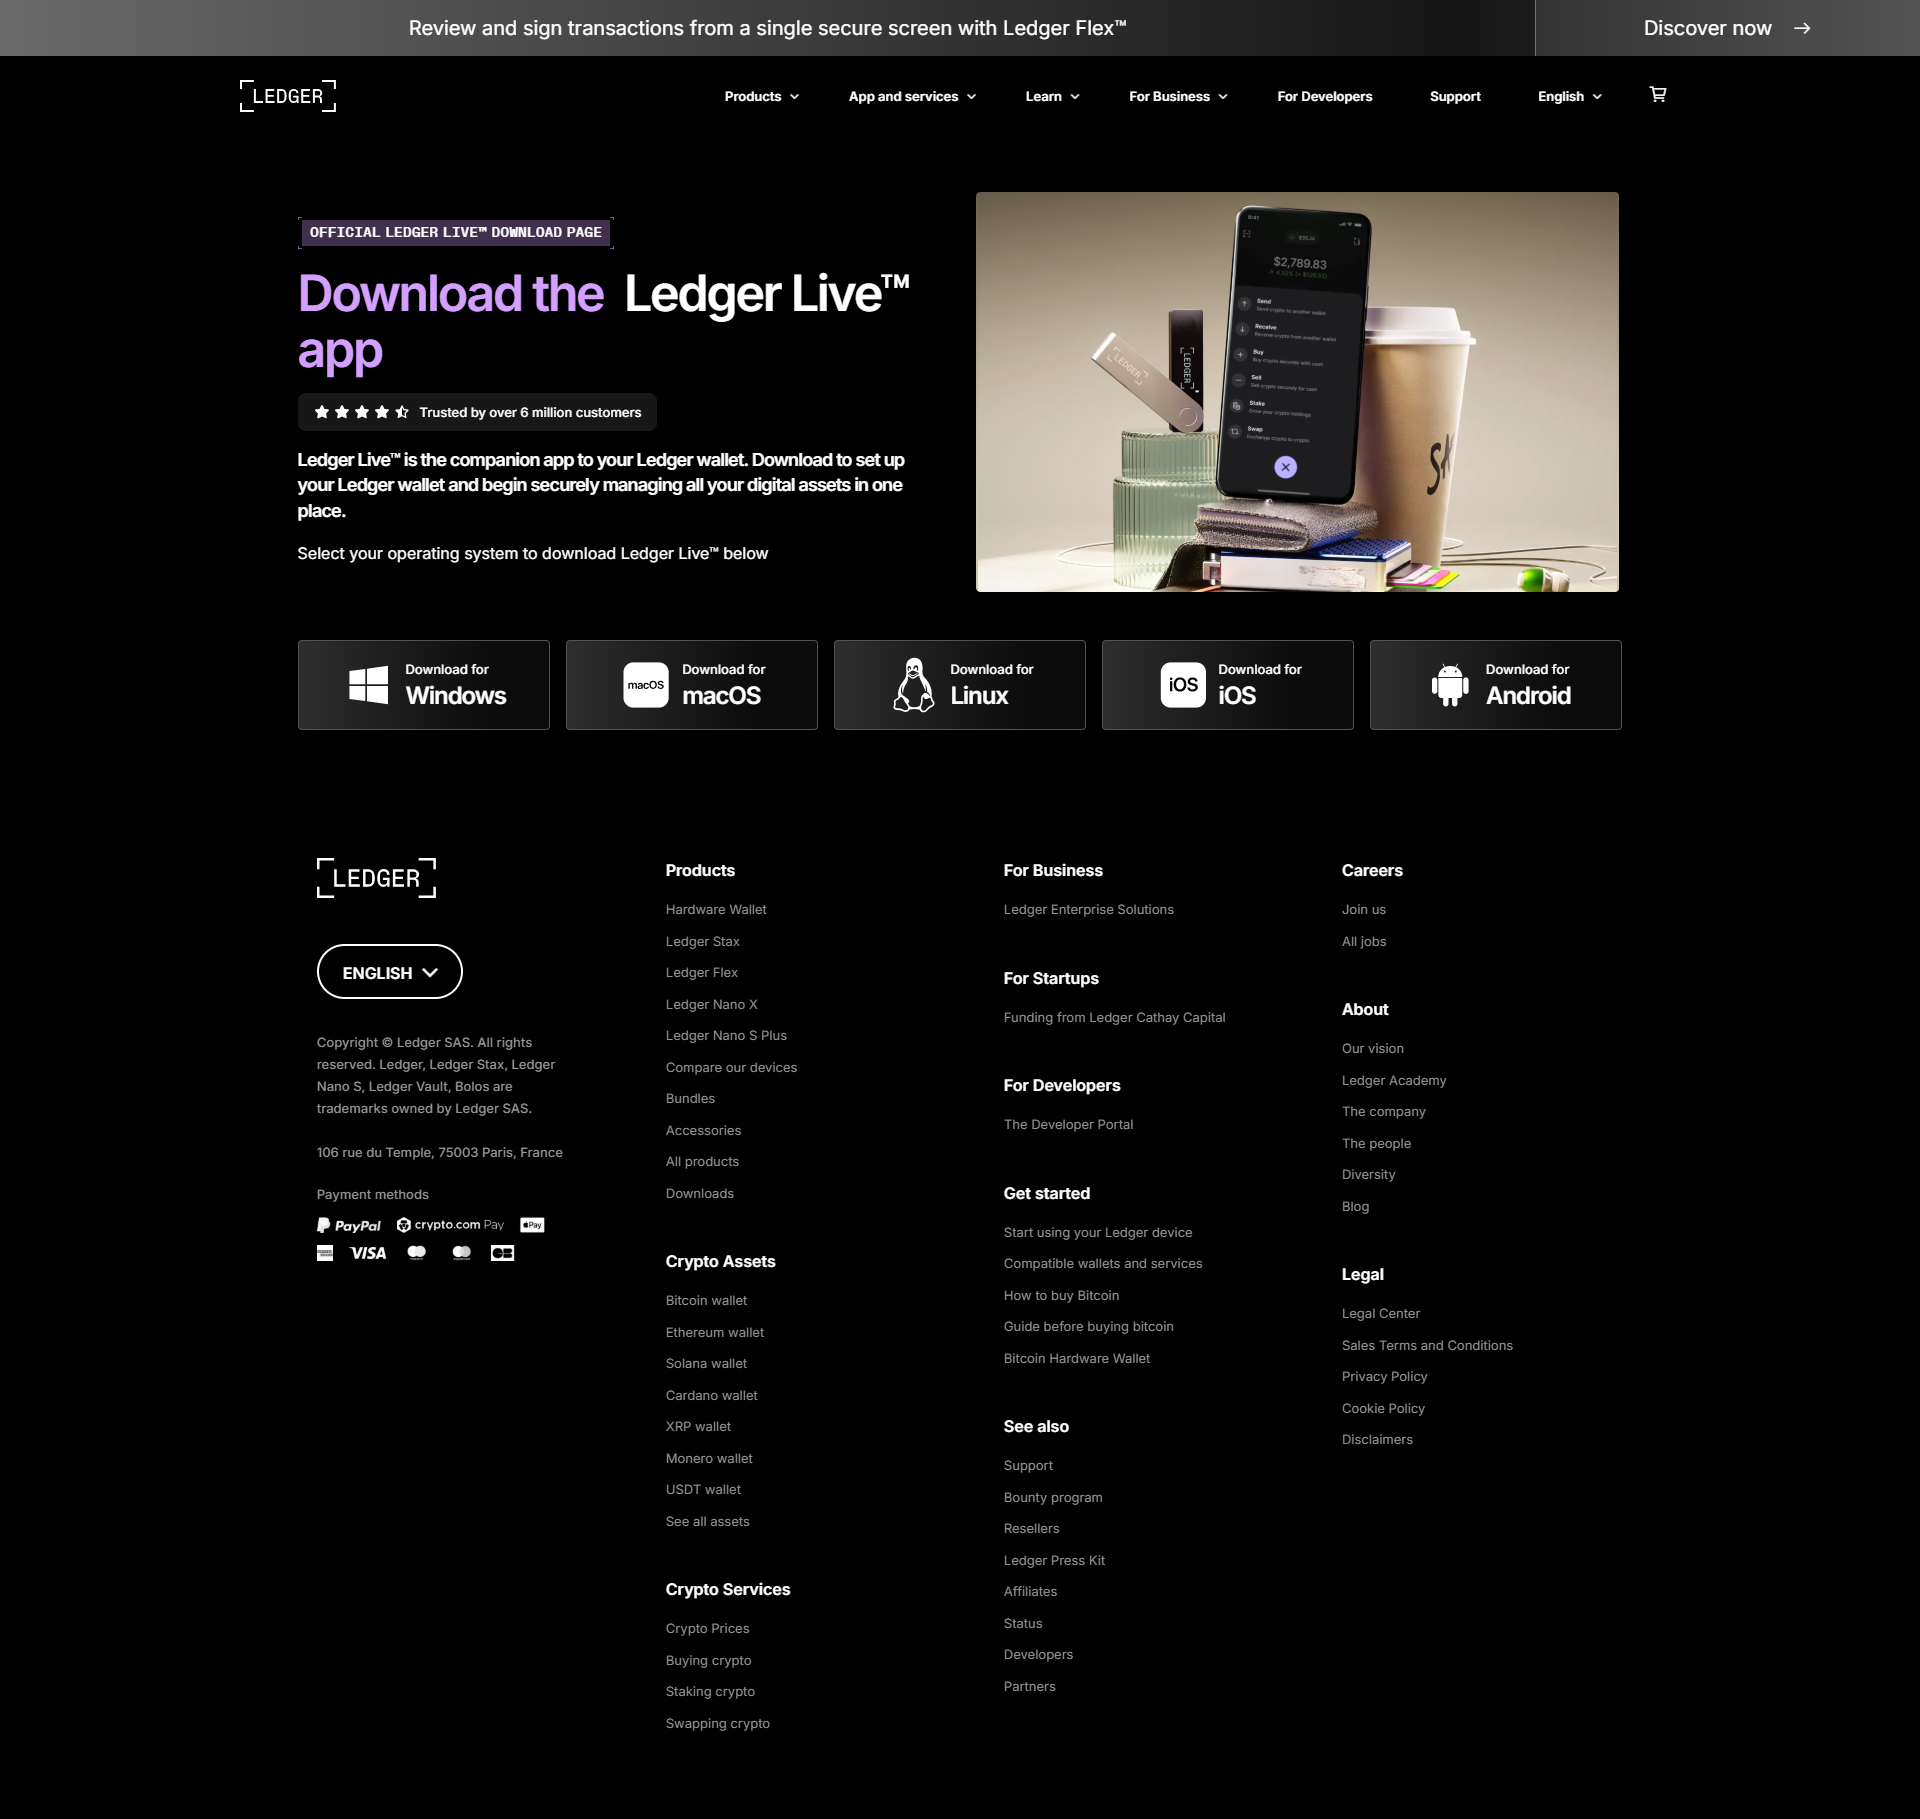
Visit ledger.com/start using a secure and updated browser. Select your device model from the list (Nano S Plus, Nano X, or Stax). Ledger will then guide you to download and install the Ledger Live app, which is the official desktop and mobile interface for Ledger devices.
Step 2: Download and Install Ledger Live
Click the download button that corresponds to your operating system (Windows, macOS, Linux, iOS, or Android). Once downloaded, install the application and launch it. Choose "Get Started" and accept the terms and conditions.
Step 3: Set Up as a New Device
Plug in your Ledger device using the USB cable. On Ledger Live, choose "Set up a new device." Then, follow the instructions on your hardware wallet screen. You’ll be asked to:
- Select a PIN code (4–8 digits) to secure your device.
- Confirm the PIN on the device itself.
The PIN code is required each time you connect the wallet. Never share it with anyone.
Step 4: Write Down Your Recovery Phrase
After the PIN is set, your device will display a 24-word recovery phrase. This phrase is the only backup of your private keys. Write it down carefully on the recovery sheet provided with your Ledger device.
Important tips:
- Never take a photo or screenshot of your recovery phrase.
- Never save it digitally.
- Store it in a secure, offline place.
To confirm you’ve written it down correctly, the device will ask you to re-enter some or all of the words.
Step 5: Confirm Device Authenticity
Ledger Live will now check that your device is genuine using a secure authentication process. Simply follow the on-screen instructions in the app and on the device.
Once your device is verified, Ledger Live will confirm that your device is ready.
Step 6: Add Accounts in Ledger Live
From Ledger Live’s dashboard, click "Accounts" > "Add account" and choose a cryptocurrency (e.g., Bitcoin, Ethereum). Connect and unlock your Ledger device, open the corresponding app (e.g., Bitcoin app) on the device, and follow the prompts to add an account.
Step 7: Receive and Send Crypto
To receive crypto, select your account and click “Receive.” Verify the wallet address on your device before sharing it. To send crypto, click “Send,” enter the recipient’s address and amount, and confirm the transaction on your device.
Final Tips
- Always keep your firmware and Ledger Live updated.
- Enable “blind signing” for certain tokens (e.g., NFTs or DeFi platforms).
- Only buy Ledger devices directly from Ledger.com to avoid tampering.
Using Ledger.com/start to initialize your hardware wallet is the safest way to protect your digital assets. With the right precautions, your Ledger wallet becomes a secure vault for long-term crypto storage.
Made in Typedream